

Holiday Gift Custom 3D Prints Guide for Fans
Every year, the same problem. You want to give something that actually means something to the people you love, but the stores are full of the same generic options. This holiday gift custom 3D prints guide solves that. Whether you’re shopping for a horror collector, a gaming obsessive, or a friend with a very specific fandom, custom 3D printed gifts let you match the gift to the person with a precision that no mass-produced product can touch. Here’s everything you need to know, from picking your first filament to wrapping a finished, polished piece.
Table of Contents
- Key takeaways
- What you need to start printing holiday gifts
- How to customize and print your gifts
- Finishing techniques for a polished, gift-ready look
- Planning your timeline and hitting shipping deadlines
- My honest take on personalized 3D holiday gifts
- Skip the stress: let 3dcurioprints handle it
- FAQ
Key takeaways
| Point | Details |
|---|---|
| PLA is the best starting filament | It prints with minimal warping and no heated chamber, making it ideal for decorative holiday gifts. |
| Personalization is what makes it land | Adding names, dates, or fandom icons transforms a printed object into something genuinely cherished. |
| Finishing takes longer than printing | Sanding, priming, and painting can take 2 to 3 hours spread across 1 to 2 days. |
| Timing is everything | Order or start printing at least 2 to 3 weeks before your deadline to account for finishing and shipping. |
| Support-free STL files save time | Designs optimized for zero supports and 0% infill can print in under an hour, cutting waste and failure rates. |
What you need to start printing holiday gifts
Before you print a single ornament or figurine, you need to make a few decisions about equipment, materials, and design sources. The good news is that the barrier to entry is much lower than most people think.
Choosing your printer type
For holiday gift making, FDM (Fused Deposition Modeling) printers are the most practical choice. They’re affordable, widely available, and handle the decorative prints that make great gifts. Resin printers produce finer detail but require more safety precautions and a separate finishing workflow, so they’re better suited to experienced makers.
Filament selection matters more than you think
PLA is recommended for beginners because it prints without a heated chamber and resists warping, which makes it forgiving for first-time projects. It’s the right call for ornaments, name plates, figurine bases, and decorative pieces.
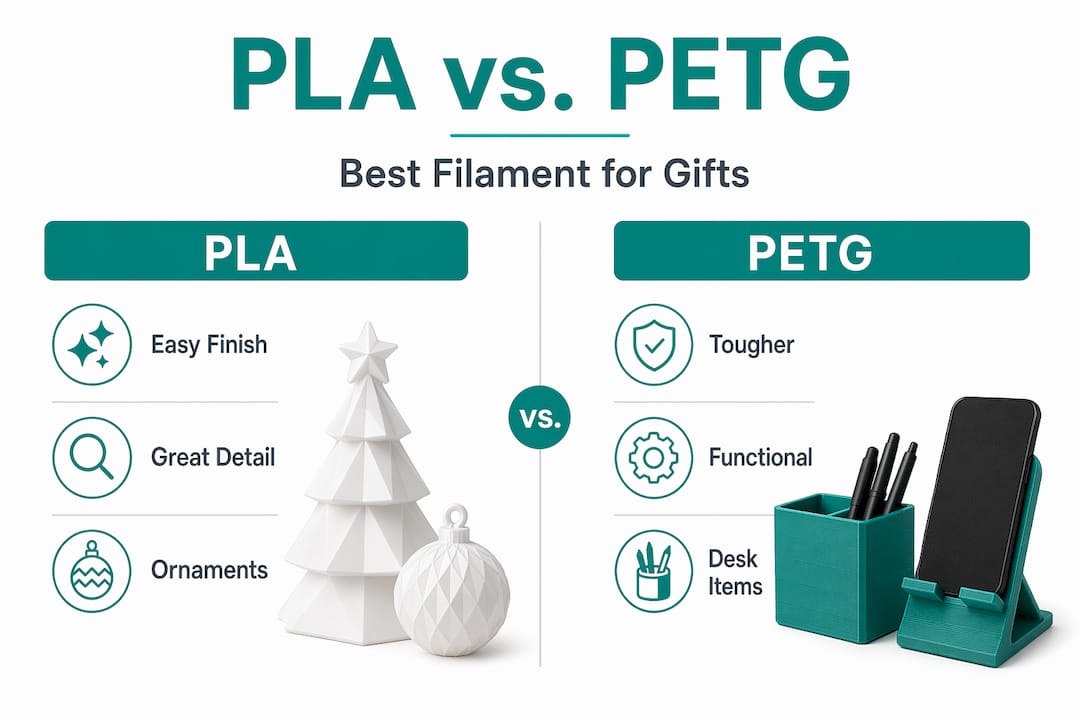
If you’re making something functional, like a phone stand or a desk organizer as a gift, consider PETG. PLA’s glass transition temperature sits around 55 to 60°C, while PETG handles higher temperatures and is significantly less brittle. The trade-off is that PETG can string during printing, so it requires careful temperature settings and dry filament storage.
Here’s a quick comparison to help you decide:
| Material | Best for | Difficulty | Finishing ease |
|---|---|---|---|
| PLA | Ornaments, figurines, decor | Beginner | Easy to sand and paint |
| PETG | Functional gifts, durable pieces | Intermediate | Requires wet sanding |
| Resin | High-detail miniatures | Advanced | Separate process needed |
Where to find STL files
You don’t need to design from scratch. Sites like Cults3D, Thingiverse, and MyMiniFactory host thousands of free and paid STL files. Search by fandom, hobby, or character name and you’ll find more options than you can print in a season. For personalized 3D print designs with names or custom text, look for files with built-in customizer tools or editable text fields.
Pro Tip: Download a few test files before committing to a design. Print a small section at 10% scale to check layer quality and detail before running a full 3-hour job.
You’ll also want a slicer program like Cura or PrusaSlicer, plus basic finishing supplies: sandpaper in multiple grits, filler primer spray, acrylic paints, and a clear coat sealer.
How to customize and print your gifts
This is where the 3D printing gift guide gets practical. The process breaks down into four clear steps, and each one has a few decisions that will make or break the final result.
-
Choose your base model. Start with a design that already captures the spirit of what you want. A Minecraft character, a horror icon, a favorite animal. The base model sets the ceiling for what’s possible. Guides recommend starting with a base model and then customizing it with personal details in a 3D editor before printing.
-
Add the personal details. This is the step most people skip, and it’s the one that turns a print into a real gift. Open the STL in a free editor like Tinkercad or Meshmixer and add the recipient’s name, a meaningful date, or a fandom symbol. Personalization with names, initials, and fandom icons is what makes custom 3D printed gifts feel genuinely one-of-a-kind.
-
Set up your slicer correctly. For ornaments and small figurines, a 0.2 mm layer height gives a good balance of detail and speed. Use 15 to 20% infill for decorative pieces. For hollow ornaments, some STL designs are optimized for 0% infill and no supports, which cuts print time to under one hour and reduces material waste significantly.
-
Run a test print first. Print a small version or a single component before committing to the full model. This catches layer adhesion issues, warping, or scaling problems before they waste hours of print time.
Pro Tip: When printing multiple personalized ornaments as gifts, batch your print jobs by using a slicer’s “print one at a time” mode. This way, if one fails mid-print, the others are already finished and safe.
For figurines with overhangs, tree supports work better than linear supports because they’re easier to remove without damaging surface detail. Always orient your model so the flattest face is on the build plate.
Finishing techniques for a polished, gift-ready look
Here’s the truth most 3D printing tutorials skip: the printer gets you 60% of the way there. The finishing work is what separates a print that looks homemade from one that looks like it came from a professional shop.
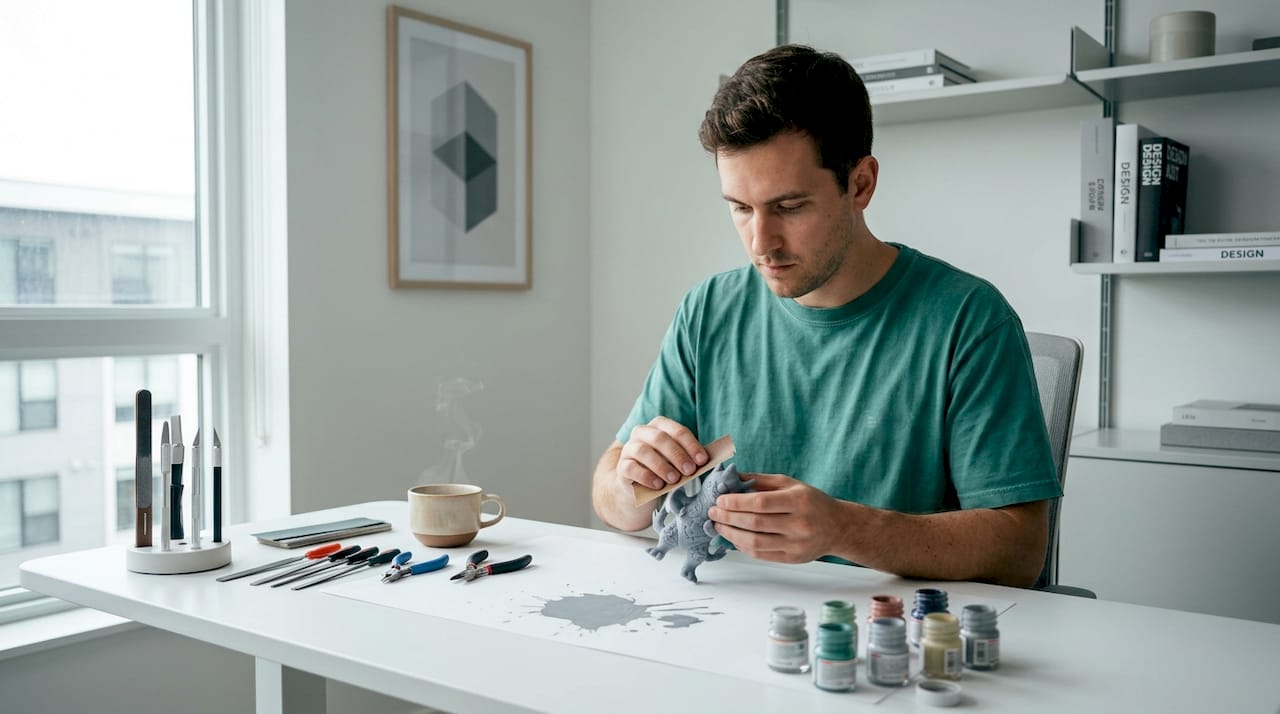
Finishing quality depends more on controlled prep and primer application than on the printer or filament quality alone. That’s worth repeating. A well-finished print from a budget printer will always look better than an unfinished print from an expensive one.
Here’s the finishing sequence that actually works:
- Sand in stages. Start at 120 grit to knock down layer lines, then move to 220, 400, and 600. Wet sanding above 600 grit prevents friction heat from softening PLA or PETG, which can smear the surface instead of smoothing it. Finish at 1000 to 2000 grit for a near-smooth surface.
- Apply filler primer in thin coats. Sanding starts around 120 grit and primer is applied in 2 to 3 thin coats with 10 to 15 minutes of drying time between each one. Thick coats fill detail and crack when dry.
- Paint with purpose. Spray paint gives the most even base coat. Use brush painting for detail work. Thin your acrylic paints slightly so they don’t obscure fine features.
- Seal everything. A matte or gloss clear coat protects the paint and gives the piece a finished, intentional look. Matte reads as more serious and collectible; gloss works well for bright, colorful pieces.
Pro Tip: For resin prints, keep a completely separate finishing area from your PLA and PETG work. Dedicated spaces for PLA/PETG vs. resin finishing prevent resin particles from contaminating your FDM pieces and protect fine surface details.
One more thing: finishing can take 2 to 3 hours spread across 1 to 2 days once you factor in drying time between primer coats. Plan for this. It’s not optional if you want the gift to look good.
Planning your timeline and hitting shipping deadlines
This section is where most DIY holiday gift projects fall apart. People underestimate how long the full process takes, and they end up giving an unfinished print or paying for overnight shipping at three times the normal cost.
Here’s a realistic timeline to work backward from:
| Stage | Time required | Notes |
|---|---|---|
| Design and slicing | 1 to 2 hours | Longer if customizing with a 3D editor |
| Printing | 1 to 8 hours per piece | Depends on size and complexity |
| Finishing (sanding and priming) | 2 to 3 hours over 1 to 2 days | Drying time is non-negotiable |
| Painting and sealing | 1 to 2 hours plus overnight dry | Clear coat needs full cure time |
| Buffer for reprints | 1 extra day minimum | First prints often need adjustments |
If you’re ordering from a custom print service rather than printing yourself, major vendors offer shipping options ranging from Economy at 6 to 10 business days all the way to Super Rush delivery in 1 to 2 business days. Always check the estimated cutoff date in your cart, not the general guidelines on the site.
For larger made-to-order pieces, the lead time is a different conversation entirely. A life-size gaming figure or a large 3ft statue can take 3 to 4 weeks to produce before it even ships. Order those by late November for December delivery.
If you’re buying from a custom print service, ask about their holiday cutoff dates upfront. Most reputable makers will tell you clearly. If they won’t commit to a date, that’s a signal to look elsewhere.
My honest take on personalized 3D holiday gifts
I’ve seen a lot of people approach this with the best intentions and end up frustrated because they tried to do too much in too little time. Here’s what I’ve actually learned from working with custom 3D printed gifts over the years.
The personalization is everything. A generic figurine is a novelty. A figurine with someone’s name, their favorite character, and a detail only they would recognize is a memory. The extra 20 minutes you spend in Tinkercad adding that personal touch is the difference between a gift that gets a polite “thank you” and one that gets a photo posted online.
Finishing quality is what people actually see. Most gift recipients have no idea what layer height means or what filament you used. What they see is whether the surface looks smooth, whether the paint is clean, and whether it feels like something made with care. I’ve seen beautifully designed prints get dismissed because they weren’t sanded. I’ve seen simple prints get framed because the finishing was immaculate.
My biggest advice: be honest with yourself about your timeline. If you have two weeks, make one great gift. Don’t try to make six and rush all of them. A single well-finished, genuinely personalized piece will always outperform a pile of rushed ones. Start earlier than you think you need to, and give yourself a reprint day. You’ll almost certainly need it.
— Dominick
Skip the stress: let 3dcurioprints handle it
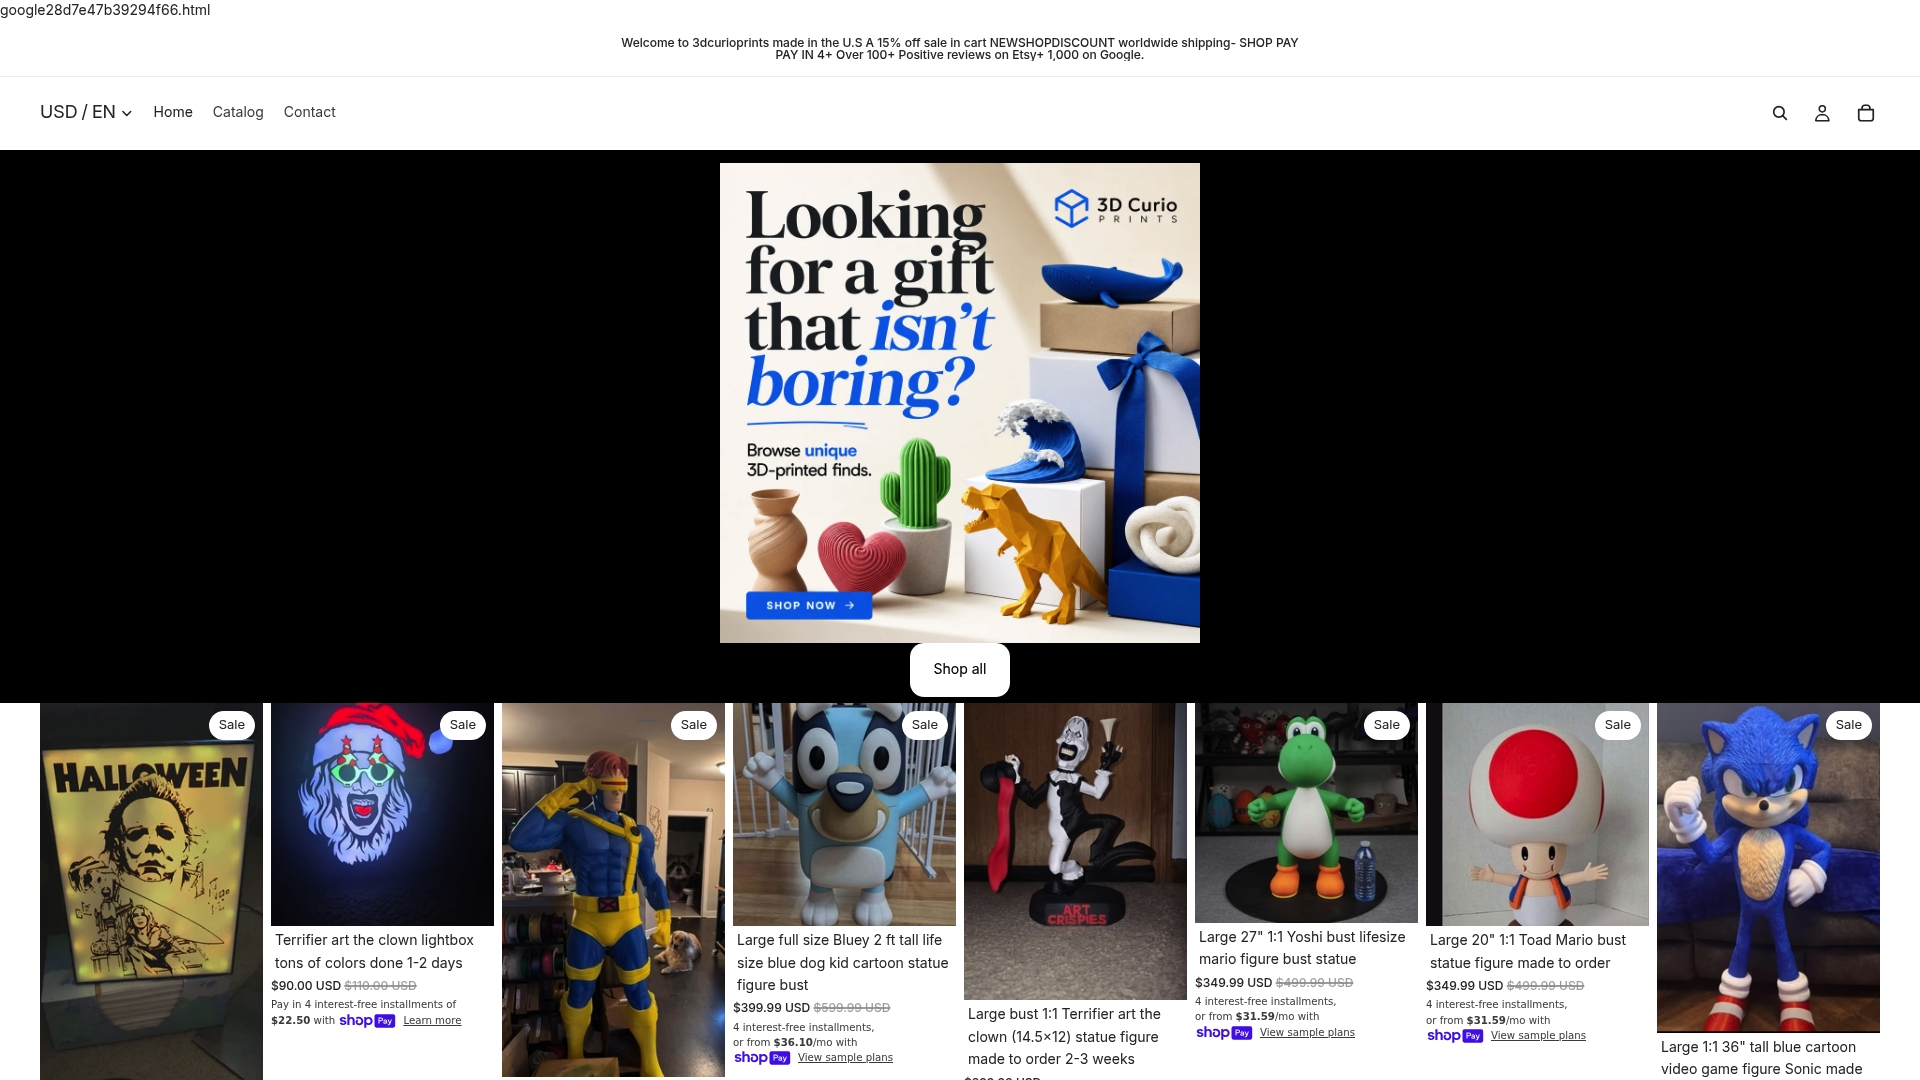
If you want the result without the learning curve, 3dcurioprints makes made-to-order custom 3D printed collectibles built specifically for fans. From gaming collectibles and busts to character-based lightboxes and large-scale figures, every piece is printed and finished to order with customization built in. Customers consistently highlight both the quality and the fast turnaround in their reviews. Browse the full range of unique gift 3D prints at 3dcurioprints.com and find something that will genuinely surprise the person you’re buying for this holiday season.
FAQ
What is the best filament for 3D printed holiday gifts?
PLA is the best starting point for decorative gifts like ornaments and figurines because it prints without warping and is easy to sand and paint. Use PETG if the gift needs to be more durable or handle any heat exposure.
How long does it take to make a custom 3D printed gift?
A small ornament can print in under an hour, but finishing with sanding, priming, and painting adds 2 to 3 hours spread across 1 to 2 days. Budget at least 3 to 4 days from start to finished gift for anything beyond a simple print.
Where can I find STL files for personalized 3D print designs?
Sites like Cults3D, Thingiverse, and MyMiniFactory offer thousands of free and paid STL files organized by theme, fandom, and character. Many include built-in customizer tools for adding names or dates directly in the browser.
When should I order a custom 3D printed gift for the holidays?
For made-to-order pieces that take 3 to 4 weeks to produce, place your order by late November. For standard custom prints with shipping, check the estimated cutoff date at checkout, as economy shipping can take 6 to 10 business days.
Can I make 3D printed gifts without a 3D printer?
Yes. Services like 3dcurioprints produce made-to-order custom 3D printed gifts with full finishing and customization included, so you get a professional-quality piece without owning any equipment.